Draw a
shape onto the dull side of freezer paper and cut it
out.

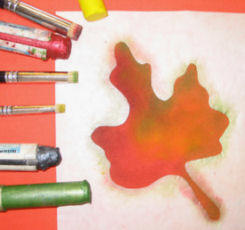
Here is a leaf I drew on my freezer paper. I cut it out carefully with sharp scissors. You will notice that I didn't cut into the leaf from the edge of the paper. It is more like a 'cookie cutter' cutout.
I tried my stencil on paper in a sketchbook first. I held the cut edges down as I painted to be sure the paint did not seep underneath. This was the result:


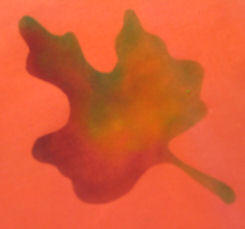
For my next exercise I ironed the stencil to a piece of orange cotton, shiny side down. Freezer paper adheres well and does not leave any residue on the fabric. I made sure all the cut edges were attached very well.
I used several paint colours and applied it with a stencil brush. I like to use another piece of freezer paper, shiny side up, as a palette. I spread a bit of paint on that piece of freezer paper and then swirl my stencil brush in it to load the brush. I can also blend colours together on my palette. I find it works better than trying to blend the colours on the fabric if I want more subtle shading.
Here is the finished leaf on the orange cotton fabric. You can see how crisp the edges are and how I painted more heavily around the edges of the leaf to make it stand out from the orange fabric.
Here is the same stencil using different paint colours on brown embroidered silk.

I have many more exercises for you to learn about using Paintstiks. The next session of this workshop starts on April 14th.
No comments:
Post a Comment